Grand Theft Auto V (GTA 5) is one of the most modded games in history, with a vibrant community constantly creating new content to enhance the game’s experience. From graphics overhauls to custom vehicles and unique scripts, mods can drastically change the way you play GTA 5. However, modding can be a bit tricky if you’re new to the process. In this guide, I’ll walk you through the steps to safely and effectively mod your game, from backing up your files to installing the main mods.
1. Backing Up Your Game
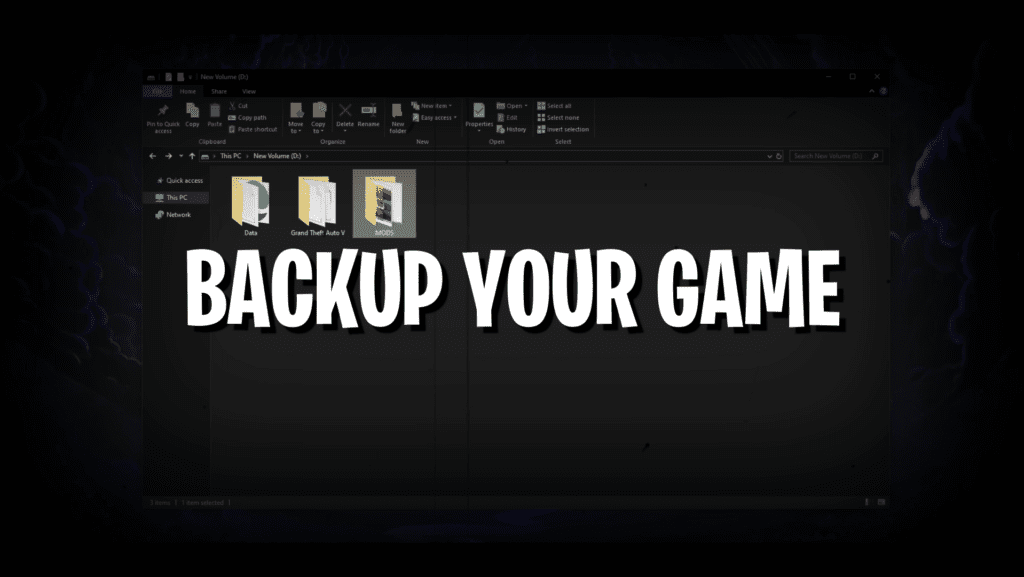
Before you dive into the world of mods, the first and most crucial step is to back up your game files. Modding can sometimes lead to unexpected issues, such as crashes or corrupted files. A backup ensures that you can always restore your game to its original state if something goes wrong.
To back up your game:
- Navigate to the game directory: For most users, this is located in
C:\Program Files\Rockstar Games\Grand Theft Auto V. - Copy the entire folder: Create a copy of the entire GTA 5 folder and store it in a different location on your hard drive, or an external drive. This way, you have a clean version of the game to revert to if needed.
Backing up your game may take some time, especially if you have a lot of files, but it’s a necessary step to prevent potential headaches later on.
2. Downloading Basic Mods
Once your game is safely backed up, it’s time to start downloading the basic mods. Basic mods are essential tools and scripts that make it easier to manage and install other mods. Here are a few must-haves:
- Script Hook V: This is an essential plugin that allows custom scripts to be used in GTA 5. It’s required for many other mods to work.
- ASI Loader: A tool that loads ASI plugins, which are needed for various mods.
- OpenIV: A powerful modding tool that allows you to edit GTA 5’s game files, including textures, models, and scripts.
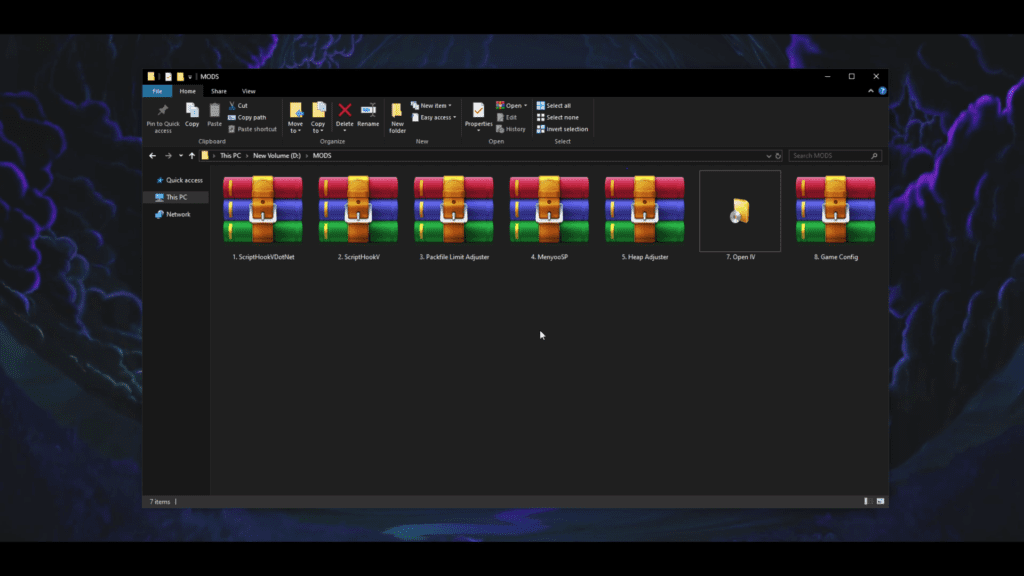
To access these basic mod files just click here. after downloading following further steps!
3. Installing Basic Mod
With your basic mods downloaded, the next step is to install them. Installation is straightforward, but it’s important to follow the instructions carefully to avoid issues.
- OpenIV: Install OpenIV and run it. During the setup, choose GTA 5 Windows version. OpenIV will then ask for the game location. Point it to your GTA 5 directory. Once set up, OpenIV gives you access to the game’s files, allowing you to modify and replace them with custom content.
4. Installing Main Mods: Graphics Mods, Scripts, and More
With your basic mods installed and ready, it’s time to dive into the main mods that will transform your GTA 5 experience. These mods can range from visual enhancements to gameplay changes. Here’s how to install some of the most popular types:
Graphics Mods Graphics mods are some of the most popular mods in GTA 5, offering everything from minor visual tweaks to complete overhauls of the game’s graphics.
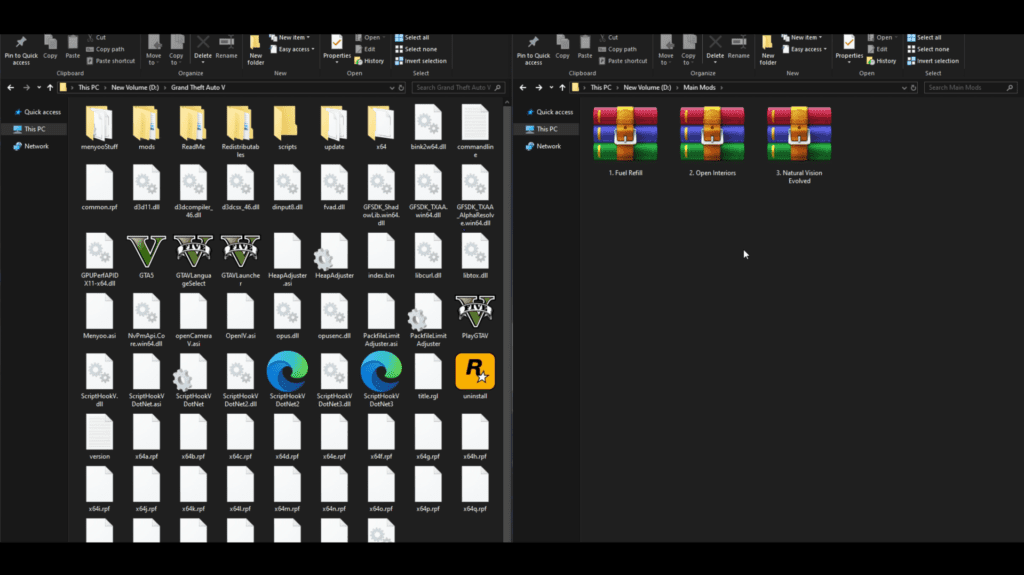
Script Mods Script mods add new features and functionalities to the game, such as custom missions, new gameplay mechanics, and more.
5. Testing and Troubleshooting
Once you’ve installed your mods, it’s time to test the game to ensure everything is working smoothly. Launch GTA 5 and see how the mods affect the game. Here are a few things to keep in mind:
- Start with a clean game: Before adding more mods, ensure that the game runs smoothly with the current mods installed.
- Test one mod at a time: If you’re adding multiple mods, it’s wise to test each one individually before installing the next. This helps you identify if a specific mod is causing issues.
- Check for compatibility: Some mods might not work well together, causing crashes or glitches. If you experience issues, check the mod descriptions for compatibility notes or updates from the mod creators.
 GAMING STIFF PC GAMES, MODS, FIXES & MORE

